
Making holograms with a pen plotter
I have a pen-plotter! It’s great. It’s like having a printer but slow and it breaks more often. I got it on eBay and it came sorta broken and I immediately spent the difference between what I paid and the price of new one fixing it. Now it’s fixed!
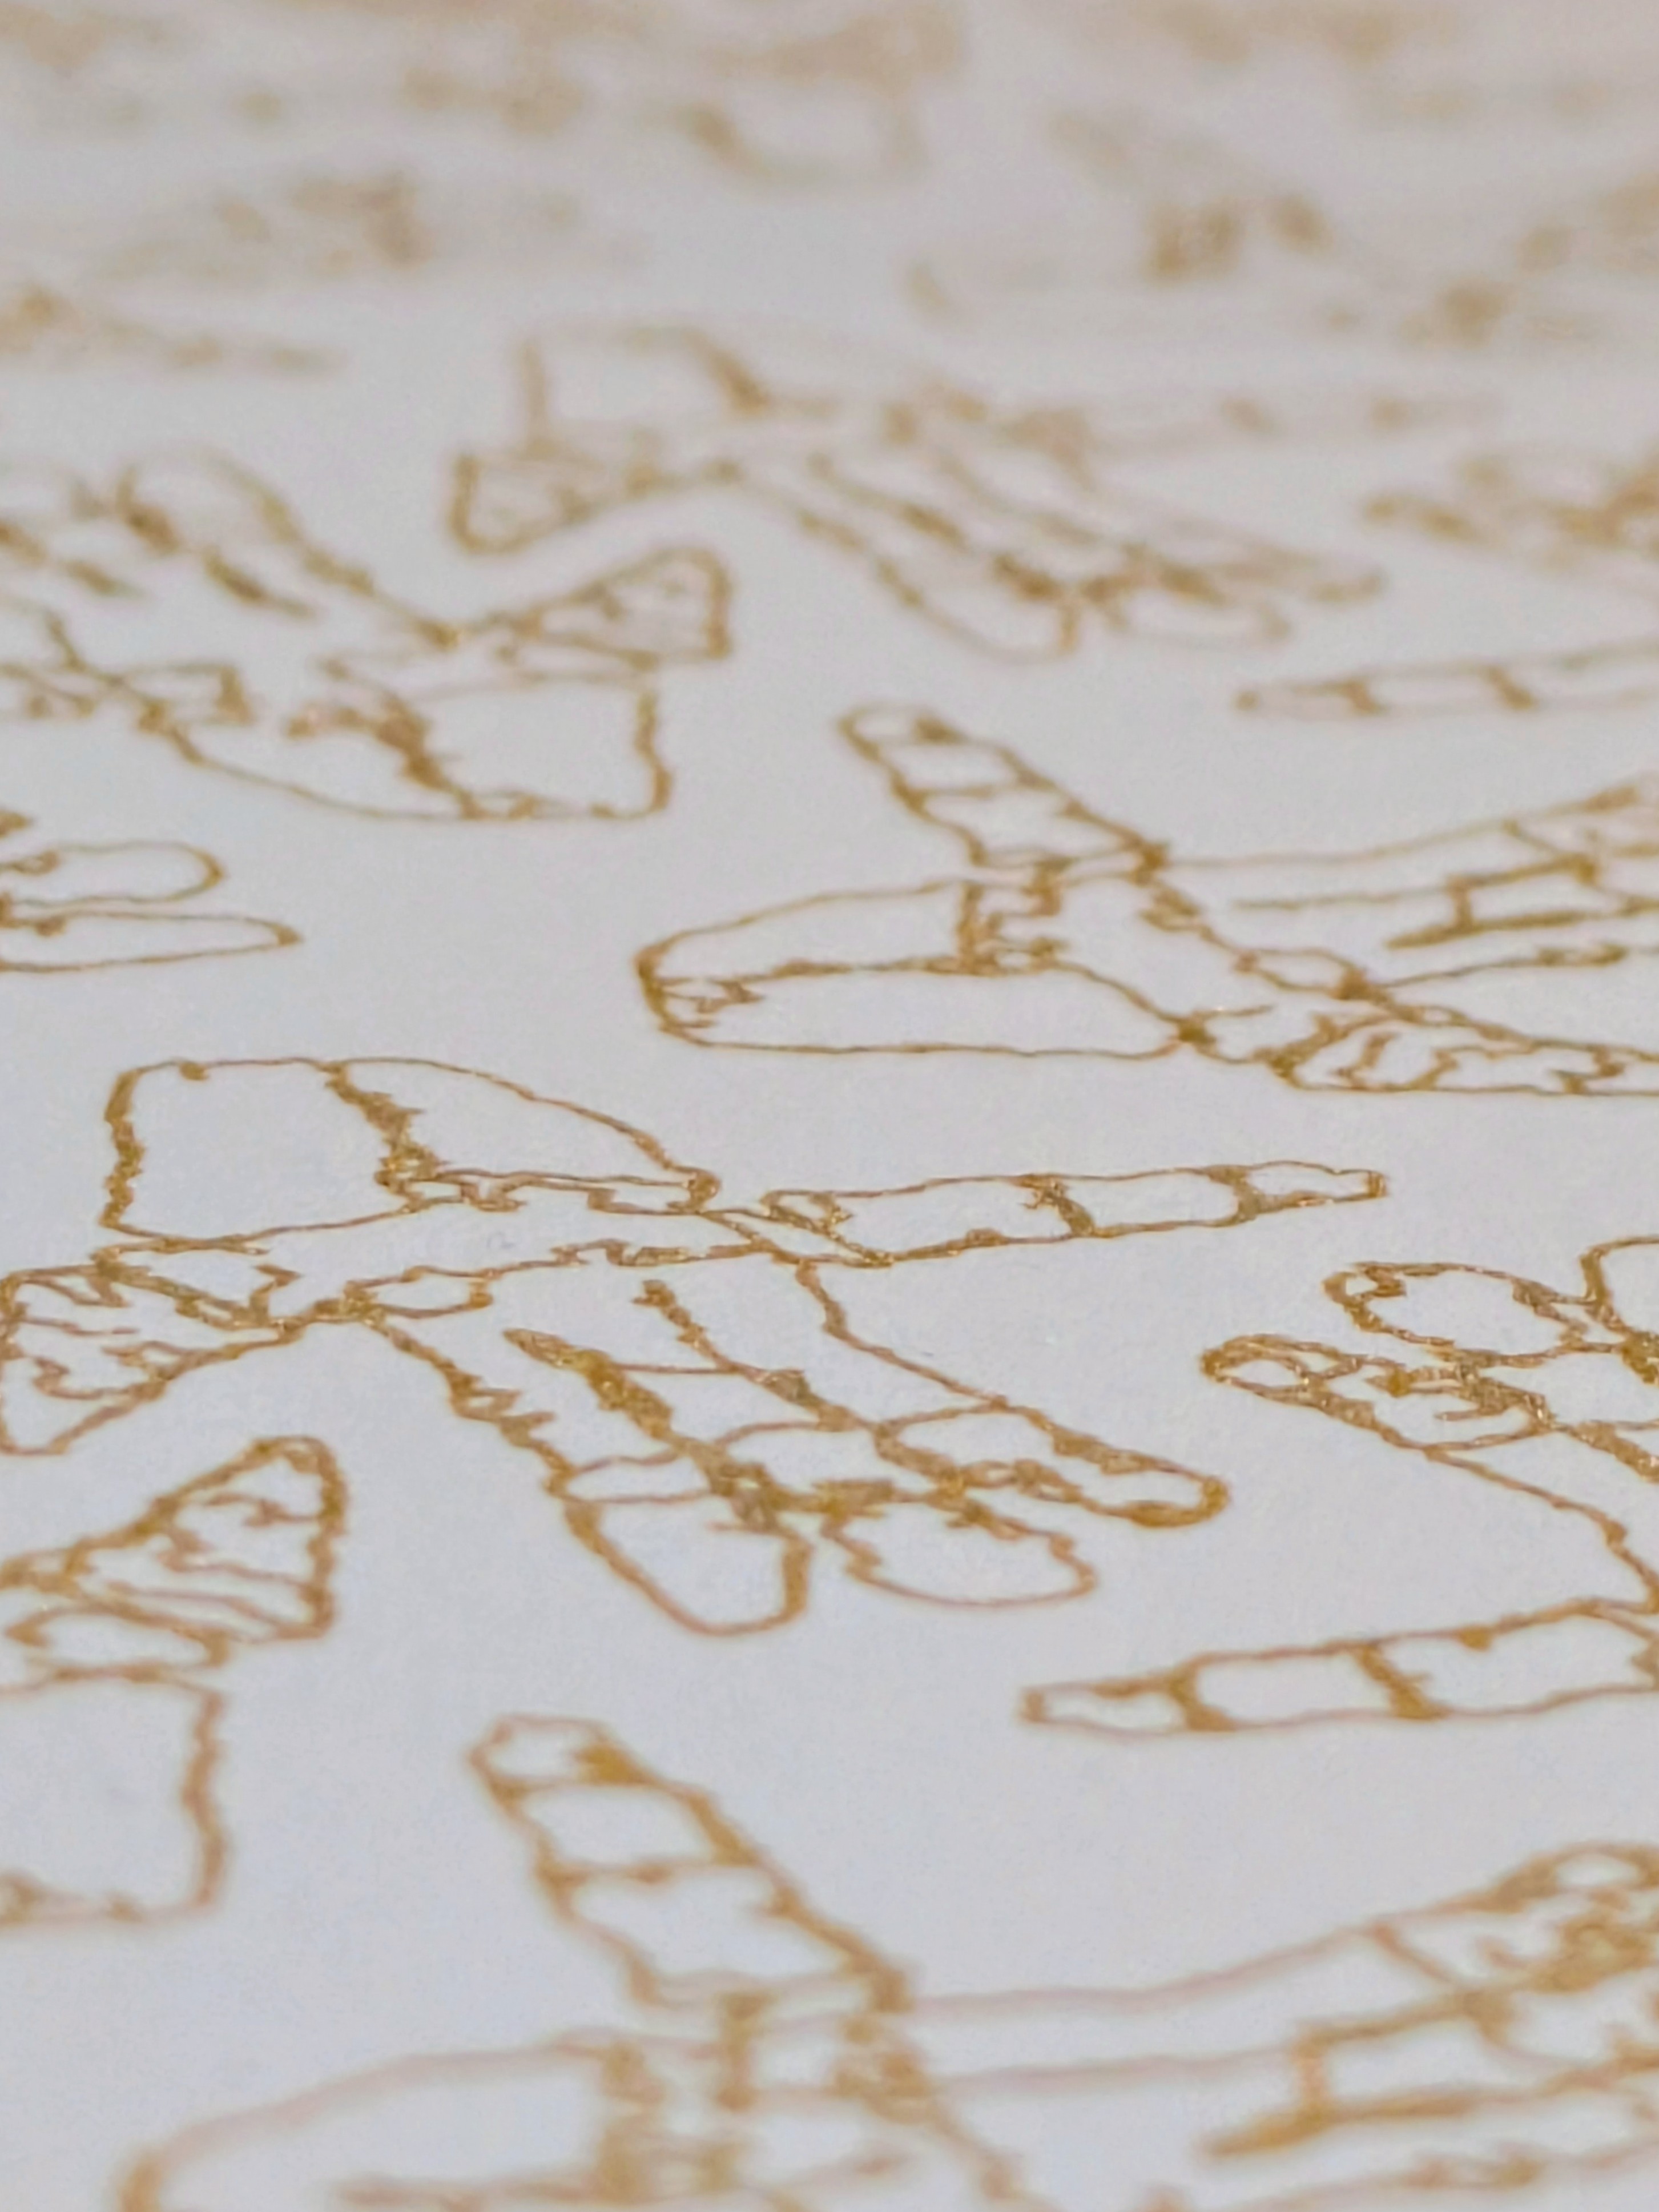
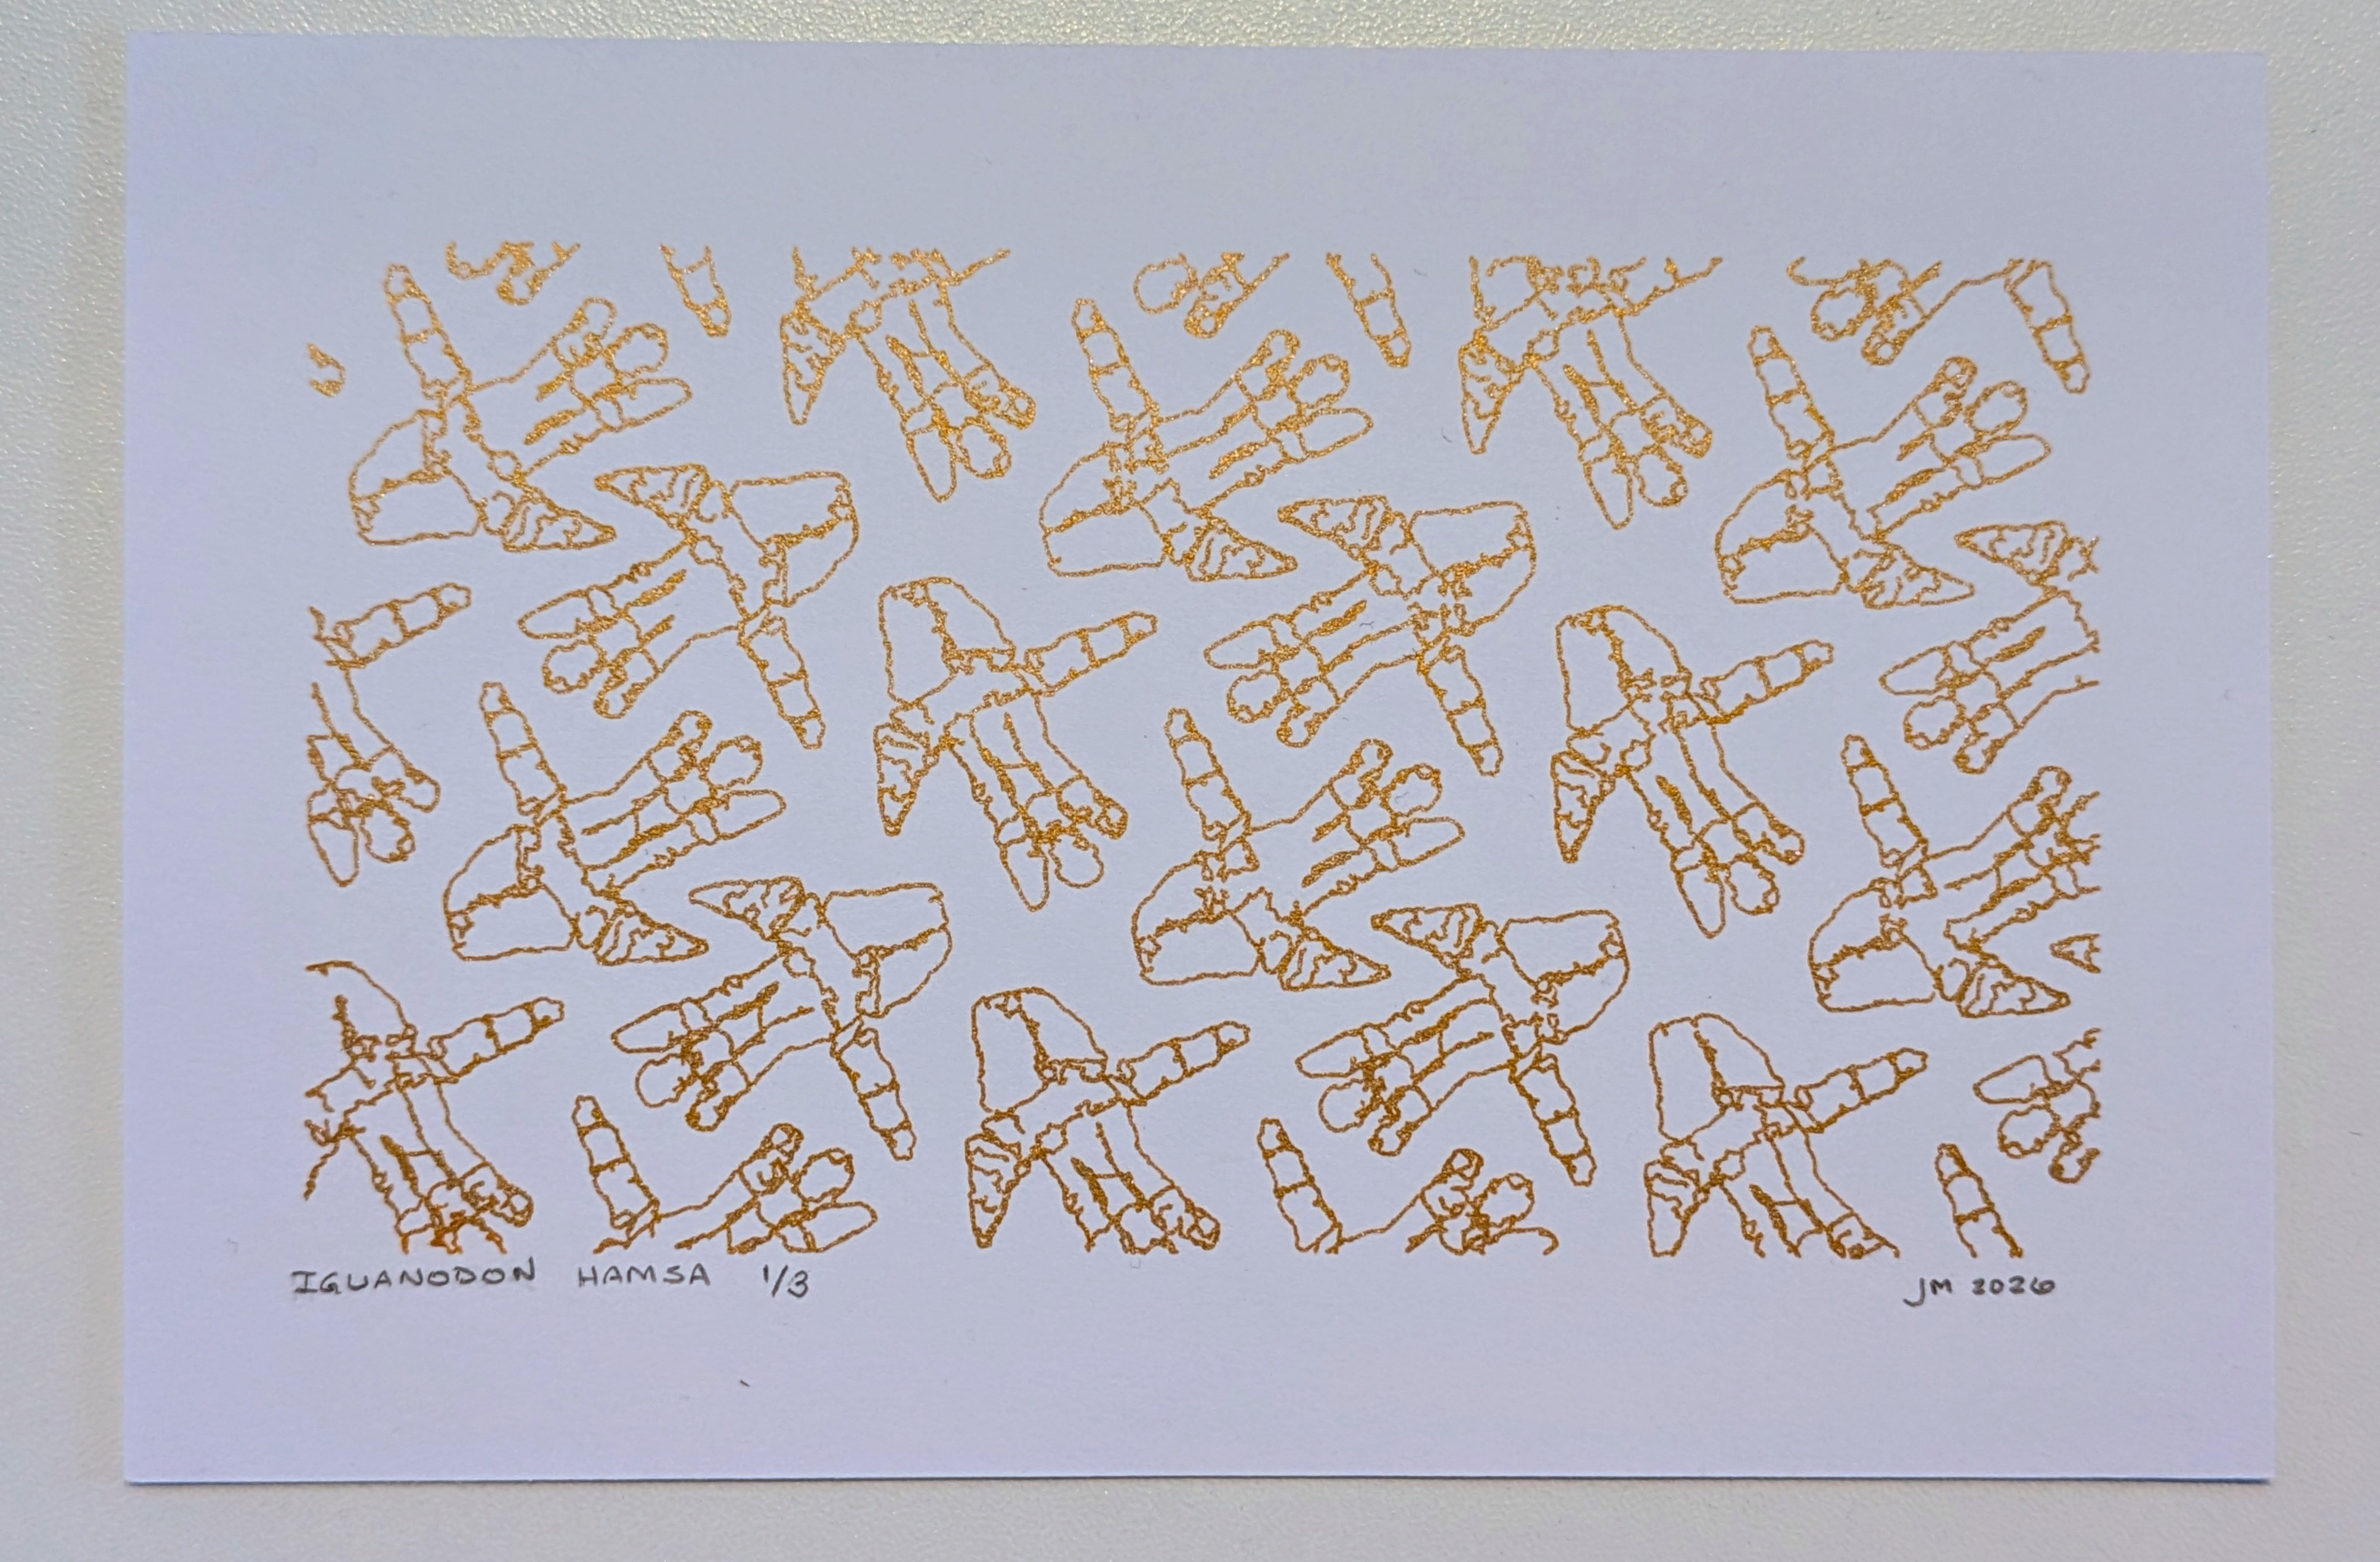
My favorite thing to do with the pen plotter is to create things that I wouldn’t be able to create on, say, a printer, or by hand.1 Sometimes that’s because the medium is different; for example, these gold ink postcards I made of an Iguanodon fossil:
 |
 |
But recently, I’ve gotten excited about using the pen plotter to make holograms.
You could derive hand-drawn holograms from scratch
William Beaty has an amazing page2 about how to make holograms by hand and it includes intuitive explanations of the optics behind them. You can read this page for an awesome explanation of why hand-drawn holograms work and what makes them so effective.3
But instead, I want to show you how you could understand hand-drawn etch-holograms entirely intuitively and de novo, without any prior knowledge of holography, and without any math. It all starts with greasy fingers.
1. Greasing your fingers
I selected a nice extra virgin olive oil for this, but you can substitute for vegetable or coconut, to taste.
It was a truly bizarre experience deliberately smearing my fingers with oil and then touching my phone screen. Try it! Rules are made up!
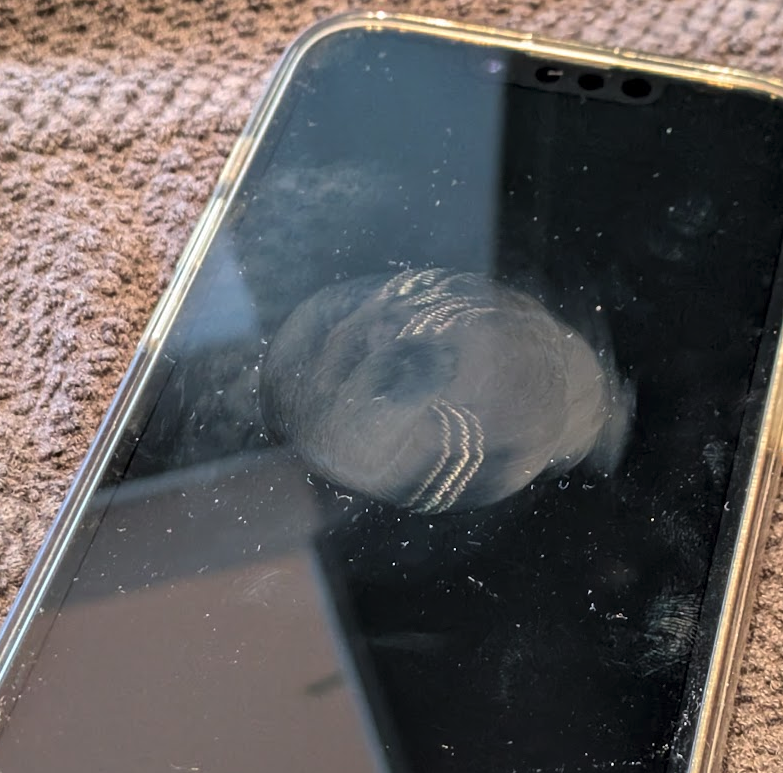
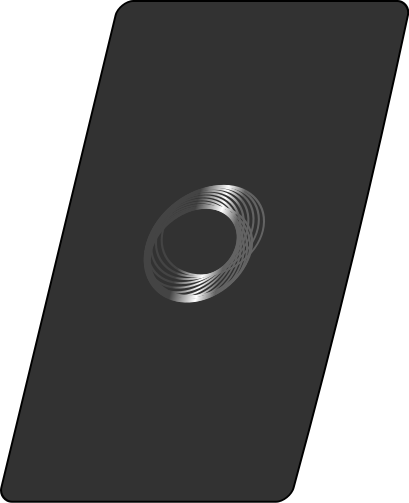
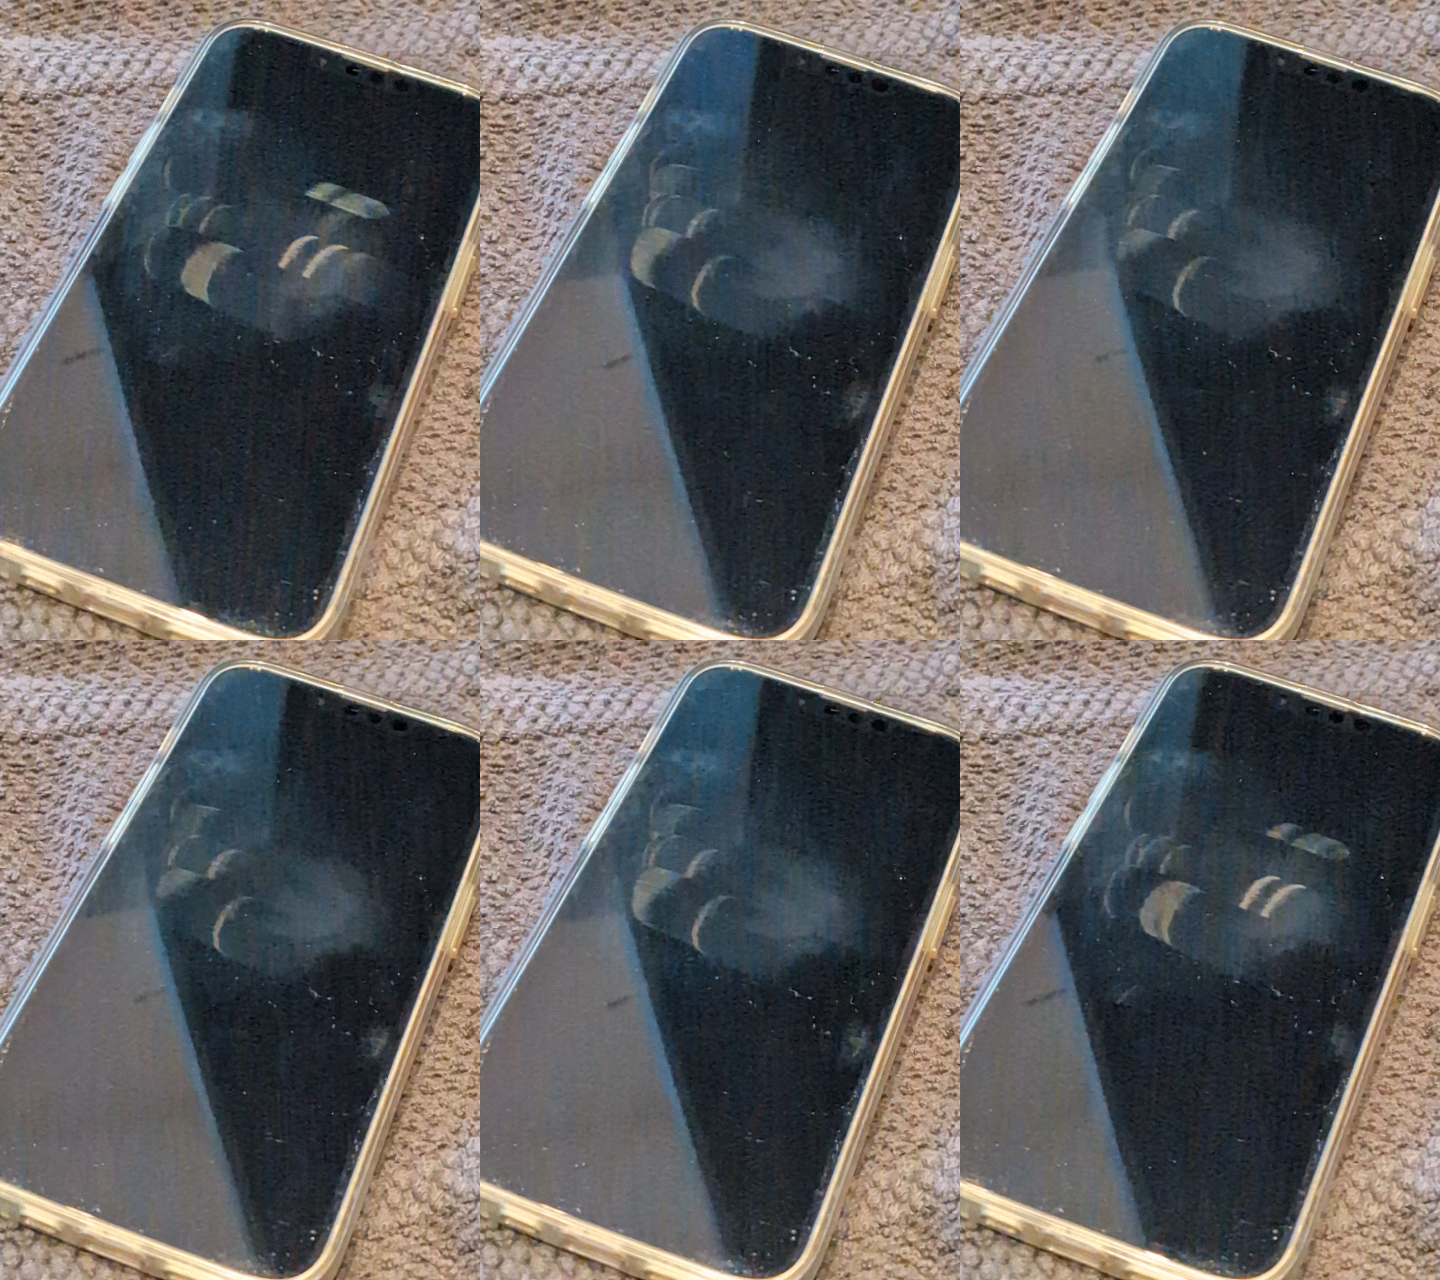
You’ve probably seen a similar smudge before on your own phone. You get these little “highlights” where the light reflects off a particular part of the smudge. On the right side I’ve drawn a schematic of what’s happening: the light finds a path from the light source to your eye that bounces off somewhere along the ridges left by your fingerprint.
Now I’m going to draw a different pattern:
 |
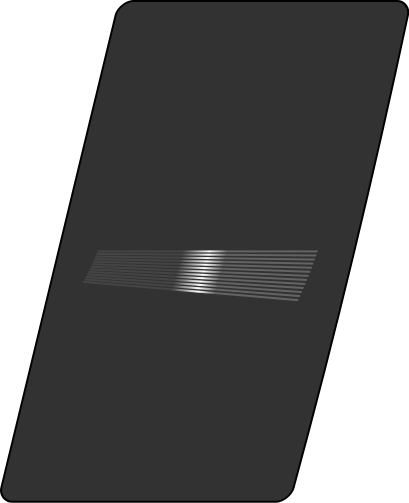 |
As I move the camera around the phone, the highlight of the streak moves.
We can steer that! That’s the key insight of hand-etched holography: the curvature of the reflective ridges determines the direction and speed of movement of this “virtual image” highlight.
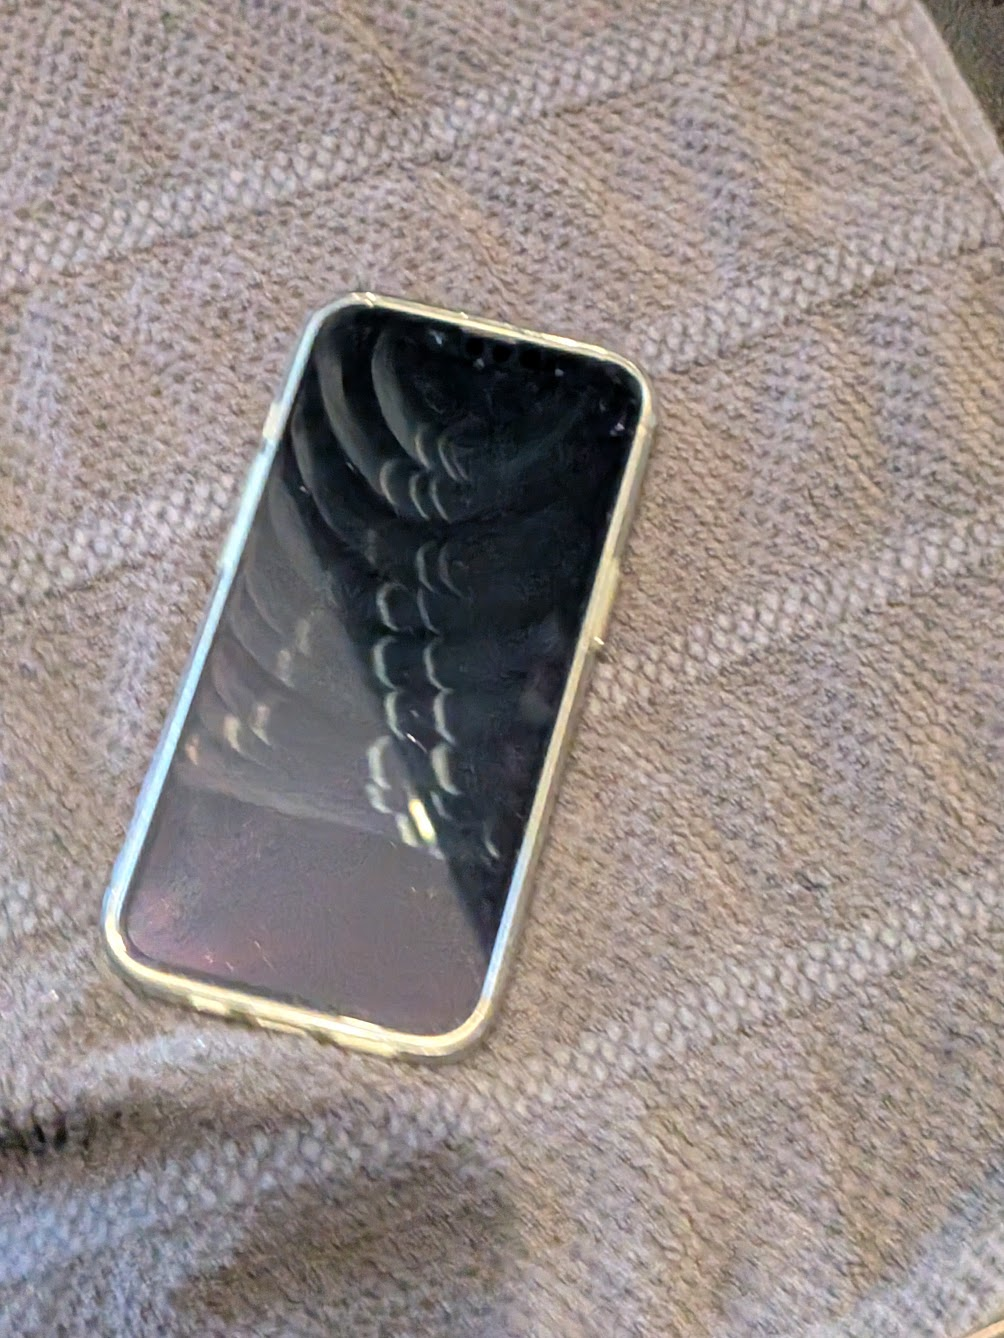
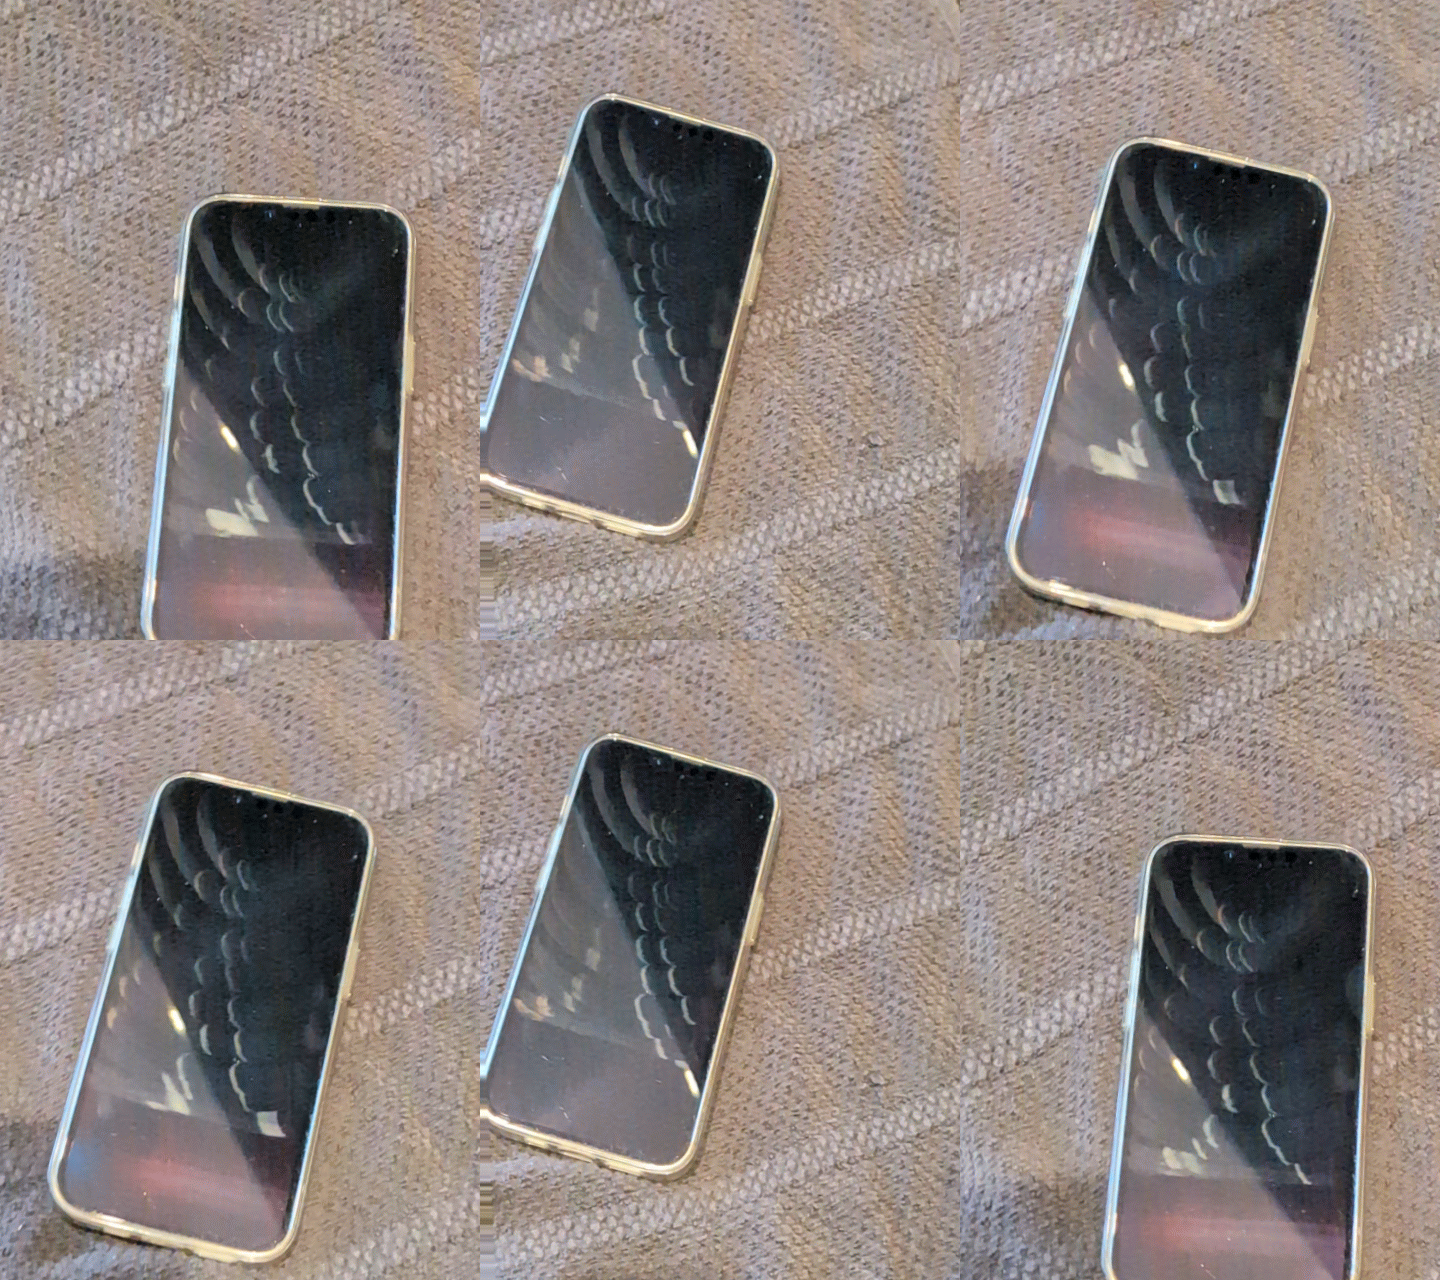
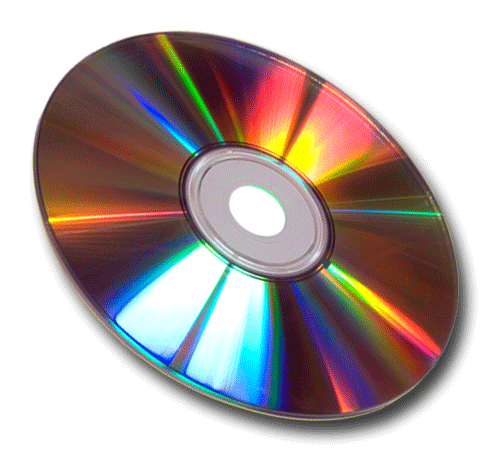
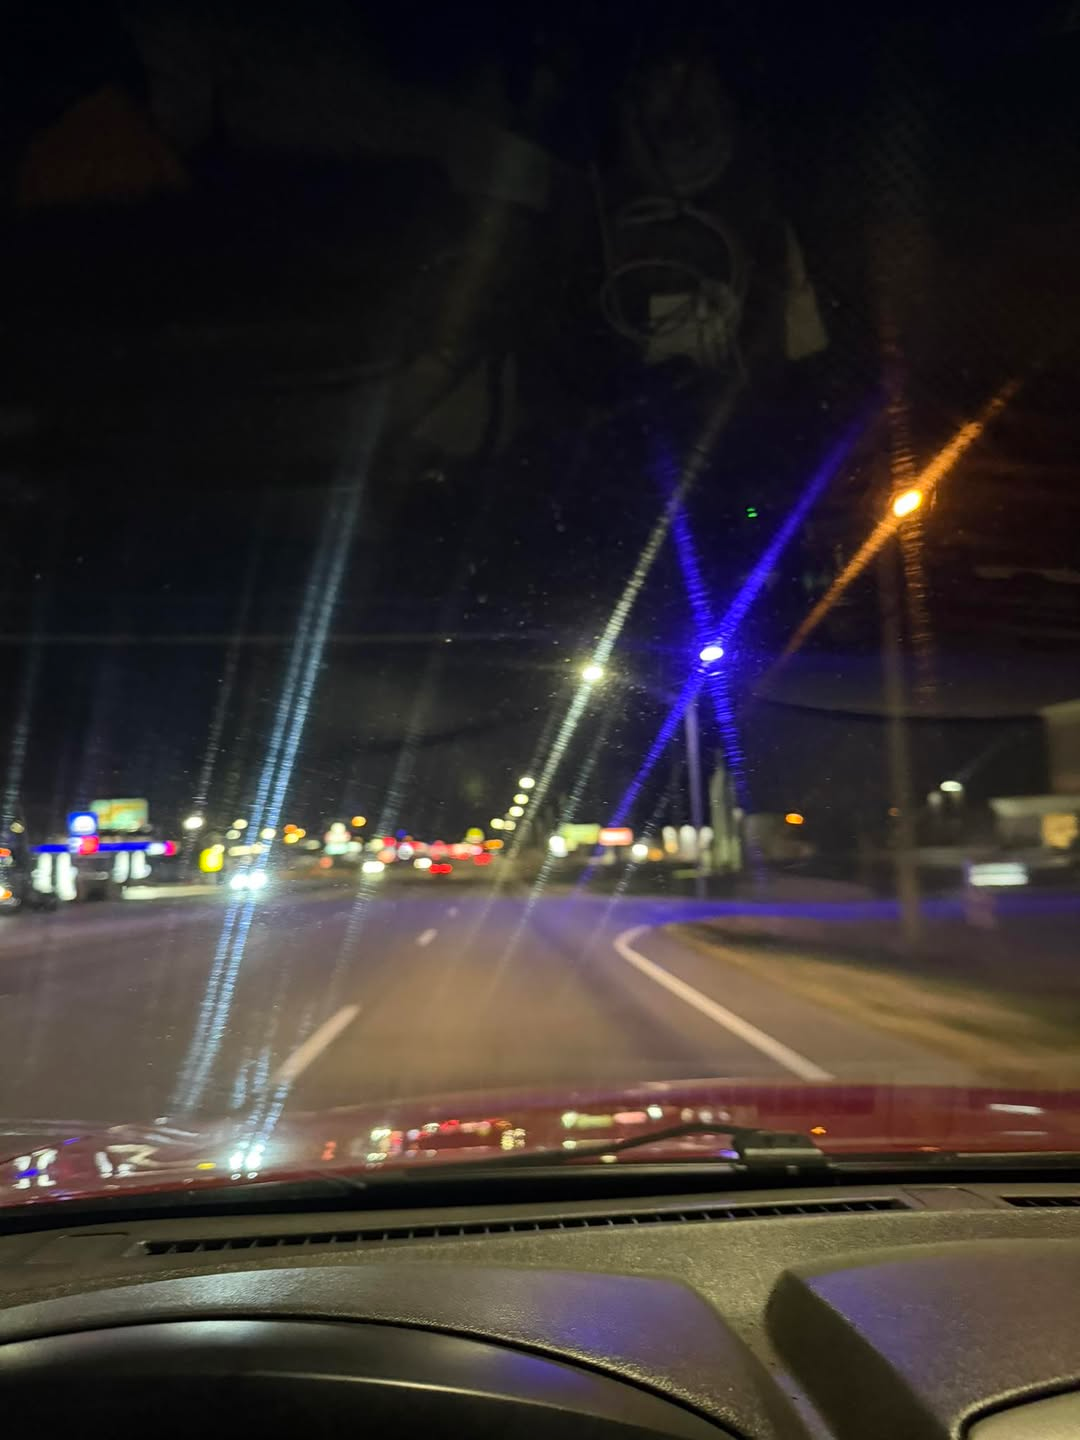
This is the same phenomenon as the rainbow pizza-slice on CDs, and what windshield-wiper “streaking” is: the light is bouncing off a particular part of the smudge and into your eye, and as you move your head, the light bounces off a different part of the smudge. Thanks to two random Facebook users for posting these.
2. Applying the insight to holography
The reason we can control the direction and speed of the highlight is that the highlight moves less relative to your head when the radius of curvature of the ridge is steep, and it moves more when the radius of curvature is shallow:
In this video, I first move the light source around shiny rings (a low-fi hologram!) and the glare on the rings moves at different speeds. And then I move the camera around a set of spheres; the “virtual image” points of the hologram have the same apparent motion as the real spheres!
In other words, our reflective ridges have a highlight glare that moves at a speed that is inversely proportional to the radius of curvature of the ridge — just like how objects in the real world appear to move slower when they’re further away.
3. Pen-plotting
This means we now have a way to draw a 3D scene that actually communicates depth information to the viewer. To put this into practice, we will “render” a scene such that each point becomes a reflective ridge with a radius of curvature that is inversely proportional to the distance of the point from the camera.
Math, briefly. You have my permission to skip this box. I’m glossing over a ton of math and debugging here — code’s on my GitHub if you want to see it — but the basic idea is that each point that we want to render becomes, roughly, a hyperboloid4 section:
\[x = d · tan(θ)\] \[y = d · sec(α) · (sec(θ) − 1)\]Where \(d\) is the distance of the point from the image plane, \(θ\) is viewer angle across the horizontal, and \(α\) is the light angle relative to the plane normal.
If you didn’t like that sentence, ignore it — I will not do math again in this post.
I’ll show a few failed attempts below, but first, some cool shots of this working:
Some Fails
I wasn’t sure what materials to use to get started. My first try was to use a clear plastic “lamination” sheet from the office supply store, which was a total fail, mainly because the plastic was too flexible and (1) moved when I was trying to etch it, and (2) it was too wavey to reflect light coplanar to the viewing angle.
Then I tried using a wooden stylus to etch those waxed sheets of colored paper that we used to draw on in elementary school; do you remember them? These were alright, but the volume of curves I needed to draw was too much for the paper to handle, and it wound up tearing and crumpling.
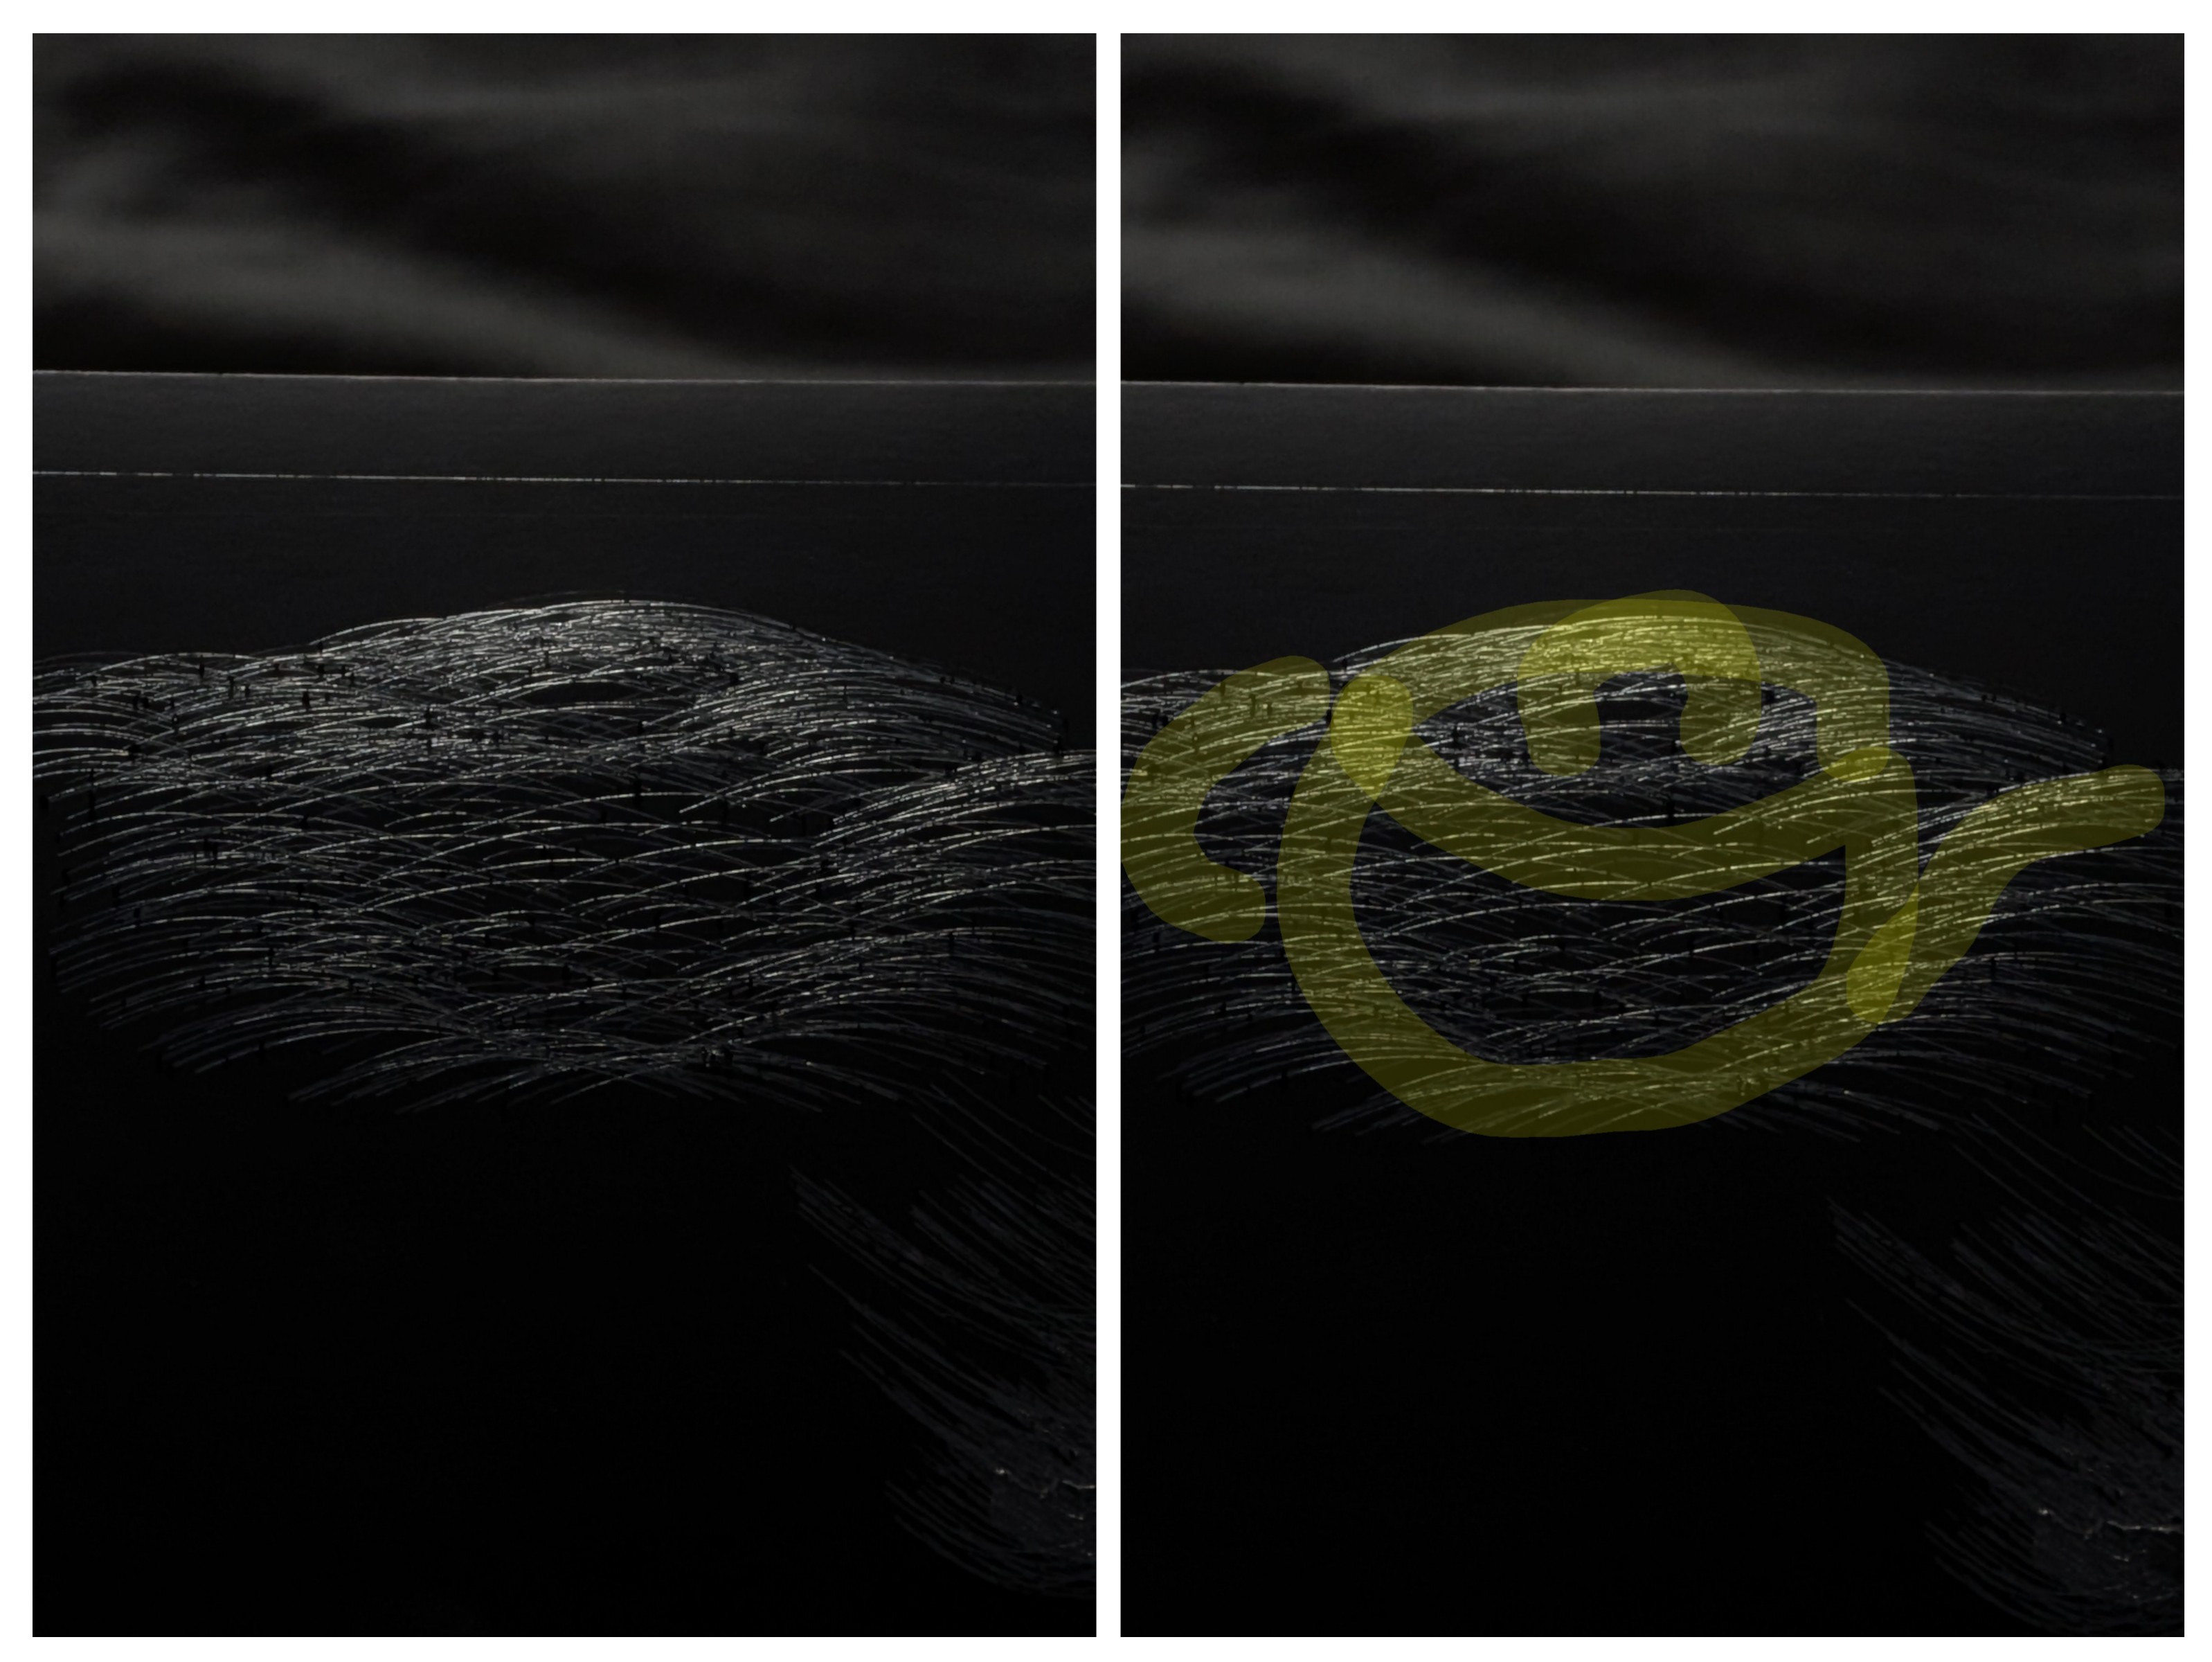
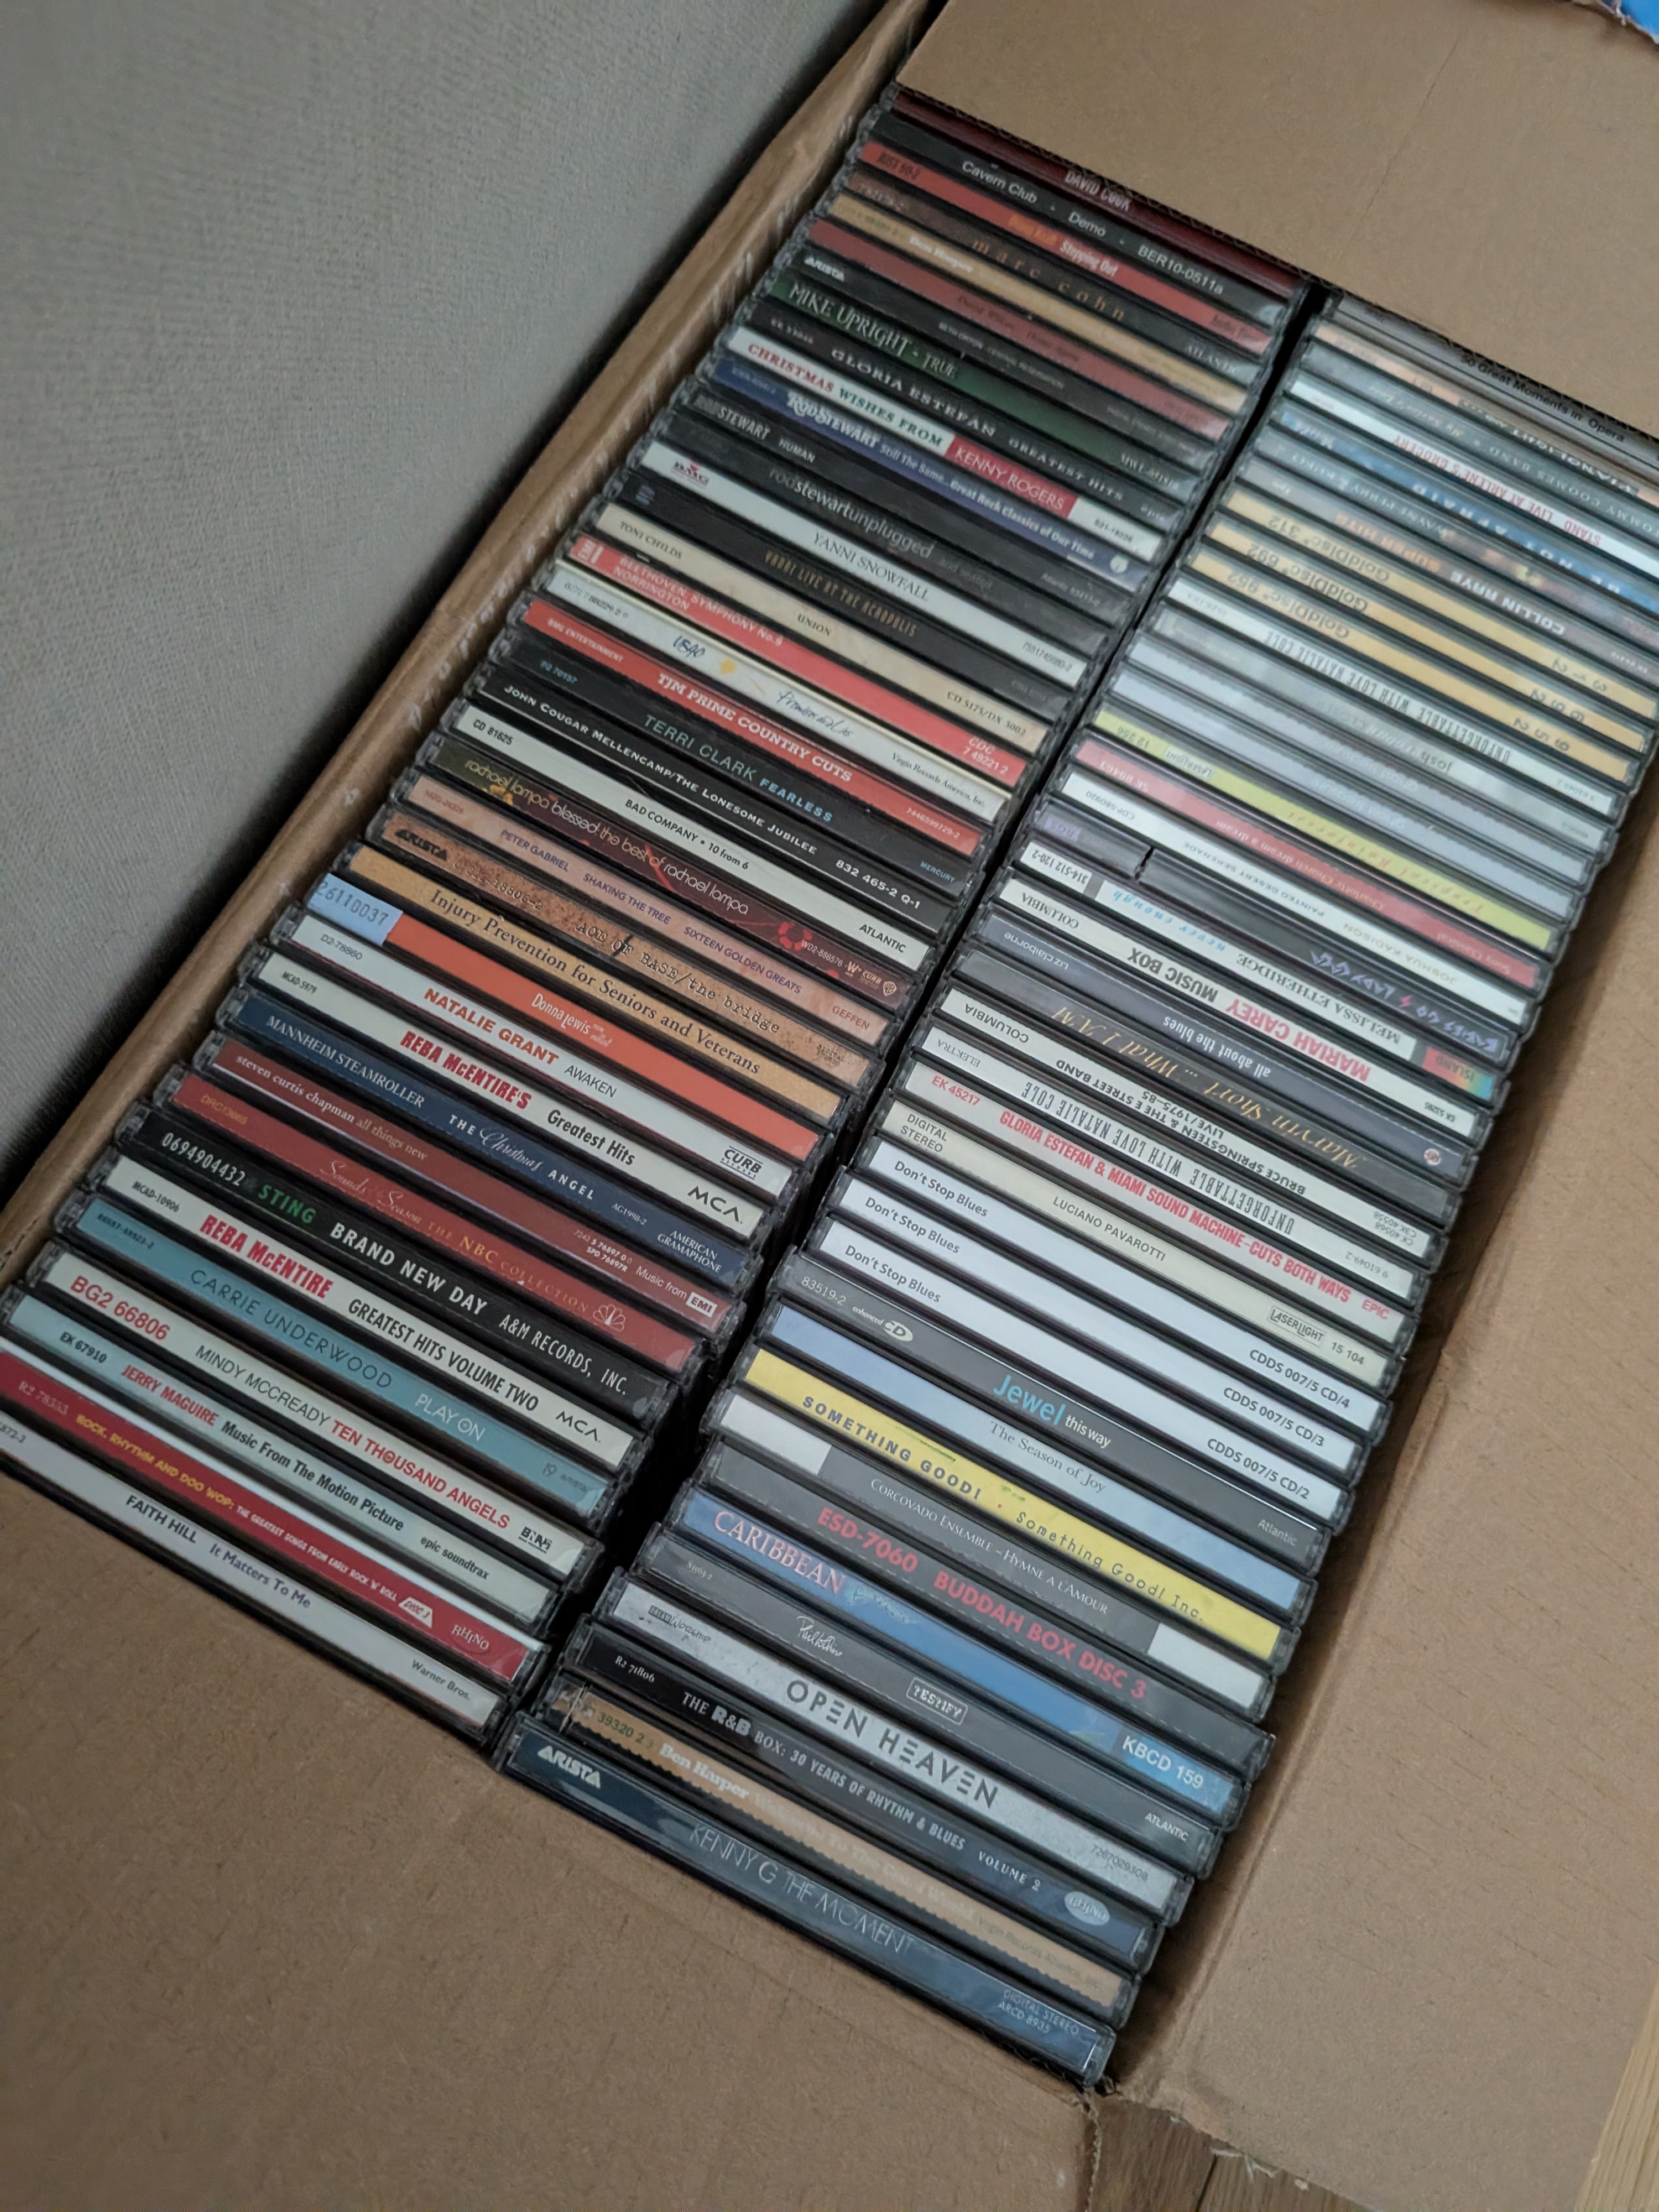
The material that finally worked was an old CD jewel case. I wound up going on eBay and buying a bunch of them for a few dollars. I don’t know what I expected5, but I was sort of assuming I was buying new jewel cases. Instead I got a huge box of old and dirty used ones. Weird! But also… Okay I guess!
Lessons Learned
The results so far are a bit underwhelming on camera, but to me, sitting with a flashlight in my pitch black closet and moving my head around like a pigeon, the effect of the first working hologram was magical. I still think the Stanford Bunny example above looks like a truly cool piece of art!
There are a lot of lessons learned. For instance, I needed something pretty narrow and pretty sharp to get the etching to work. My dad gave me a hooks/picks set from (I think) Harbor Freight, and the pokiest straight pick (seen with an orange handle in the videos above) worked great on the CD jewel cases, but totally annihilated the papers I tried.
The light also needs to be a point-source; this is a major difference from “rainbow” holograms or white-light holograms, which work fine in ambient light. Basically, the wider the source of light, the wider the virtual image points get, and the less depth information is communicated. Reflect a flashlight directly into your eyeballs! That’s what I did. The illusion works best when the main glare of the point source light is just above the top of the etches.
I think I’m still not quite out of the woods on material choice, either. The more etches I make on the jewel cases, the better the results seem to be, but also the rougher the surface becomes, and with high enough sampling, the etched region just becomes a big matte blob. I have a back-of-mind notion that I should try a diamond-tipped stylus, but I sure don’t want to spend that kind of money on a not-cool-yet project! Do you have one laying around that you want to give me?
Are these really holographic?
As far as I’m concerned, they have the main characteristic of a hologram that I care about, which is that even relatively small cutouts of the hologram retain a complete copy of the scene. This isn’t a formal definition — it’s just the fact about holograms that I like the most.
Beaty makes an excellent argument for why you should consider these holograms and I certainly won’t do a better job. But if you feel strongly that these are not holograms, then find for me a better name and you can call them that thing. I just think they’re neat!
Whatever they’re called, I think it is a beautiful thing that — like Gabor who first described holography — we have all the equipment we need to explore these physics phenomena without expensive lasers or optical tables.
Finally — something that gives me (good! excited!) shivers. From Beaty’s page:
P.S. The required tools are so simple that ancient peoples could have drawn these images in hardened sooty resin pools with wooden tools, had they but known the trick. Several ancient civilizations were heavily into geometry. I wonder if any artifacts exist in storage somewhere which appear to have some ‘sandpaper marks’ on their polished surfaces… ;)
Now if that isn’t a cool thought, I don’t know what is.
-
In fact, I got a pen plotter in the first place because I had an idea to make one paint watercolors. Instead, I found an awesome artist Licia He who does this really well, and then I got self conscious and never did it. ↩
-
Beaty, William J. “Drawing holograms by hand.” Practical Holography XVII and Holographic Materials IX. Vol. 5005. SPIE, 2003. ↩
-
I stumbled upon that post after watching Grant Sanderson’s fabulous video explaining holograms and wanting to know more. If you’re interested in an explanation, these are great resources (of, to be fair, two completely different types of holograms). ↩
-
You can approximate this with a circle when you’re viewing near 0°, which is what Beaty and others online have done — which makes sense because (1) you usually look from a small angle, and (2) they make circular compasses that you can buy at a store abut they don’t make hyperboloid ones. But we’re using a pen plotter, so the specifics of the shape are immaterial to us. We have a robot to do it for us. ↩
-
Totally not the seller’s fault, I imagine. Probably this was somewhere in the description and I failed to read. Nevertheless! For just a few dollars more I could have bought the CDs in the cases. ↩